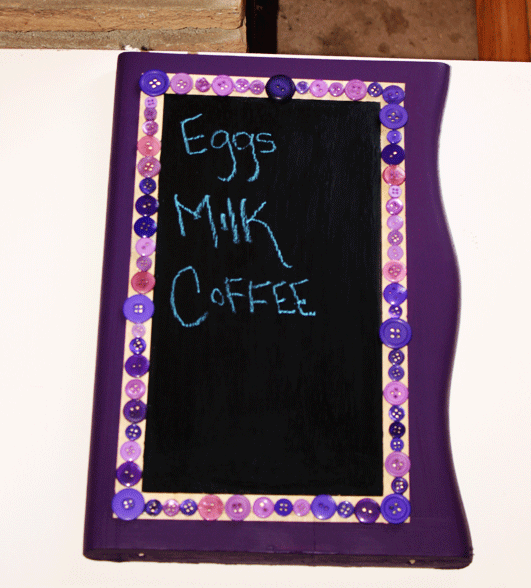
Chalkboard Supplies
- Any size or shape piece of wood
- Paint color
- Chalkboard paint
- Paint brushes
- Chalk
And some little extras if you want, like clear plastic frames, ribbon, buttons, etc.
Step 1 - First you want to paint with the color you choose around the piece of wood everywhere besides the place you want to put the chalkboard. I choose purple!
Step 2 - After the paint color dries, you next want to paint with your chalkboard paint in the spot or shape you want your chalkboard to be. Helpful hint: I used tape to tape off the area and shape I want my chalkboard to be.
Step 3 - You next want to let the chalk paint dry for 24 hours as the directions state, and then you are free to apply any extras you want! Have fun make it your own. If you are using it at your wedding adding plastic frames around it gives you a chance to display some of your engagement photos. If you want a simpler touch a lace bow will do the trick!
 |
| Photo Credit: Beth Armsheimer Photography |
If you do not win and would still like a custom chalkboard they can be purchased at http://www.etsy.com/listing/61905449/creative-custom-chalkboards
XOXO
Christine


i love how weddings have the potential to gather all of your loved ones in the same place to not only celebrate the bride and groom, but also how each person has impacted their lives.
ReplyDeleteMy favorite part about weddings is watching the faces of the bride and groom. Especially the groom as his bride walks down the aisle. Cliche, I know, but that's because it's such a great part! And I love how most couples can't take their eyes off each other. They only look at the minister because they feel like they should!
ReplyDeleteI love how much of a couple's personality is expressed in a wedding. You see their faith, their relationship, family dynamics, music style, design style...I could go on and on. I always leave a wedding overwhelmed by how much more intimately I know the couple. Weddings are wonderful!-Carrie H.
ReplyDelete